Tuesday, June 26, 2012

Gluten-free fruit (and coconut) rum trifle

I am a huge fan of British cuisine. Not cold baked beans on toast. In fact, it wasn't until I was in my early 20's that I realized how varied and wonderful British cuisine can be, from kedgeree to steak & kidney pie. Thus, you'll be seeing more British food from me in the future.

Trifle is a layered cake-and-custard dish that made it to the U.S. long ago, because we Americans steal everything and I don't know how we couldn't have stolen cake soaked in liquor. Usually, port or sherry is the liquor of choice, but I love my rum. Particularly coconut rum.

Trifles also tend to use sponge (or angel food) cake, but I am not a huge fan of sponge cake, so I substitute a gluten-free butter cake instead. Here is the recipe.

Note: This is NOT low carb.
This Nom Needs:
1 gluten-free yellow cake mix + ingredients to make cake (see package)
1 large banana, chopped
1 carton strawberries
1 tablespoon Splenda or sugar 1 cup strawberry jam
2 large boxes of instant banana pudding mix (with 4 cups cold milk to make the pudding)
2 tubs Cool-Whip, thawed
1/4 cup coconut flakes
1 shot + 2 tablespoons coconut rum Trifle dish or any large bowl

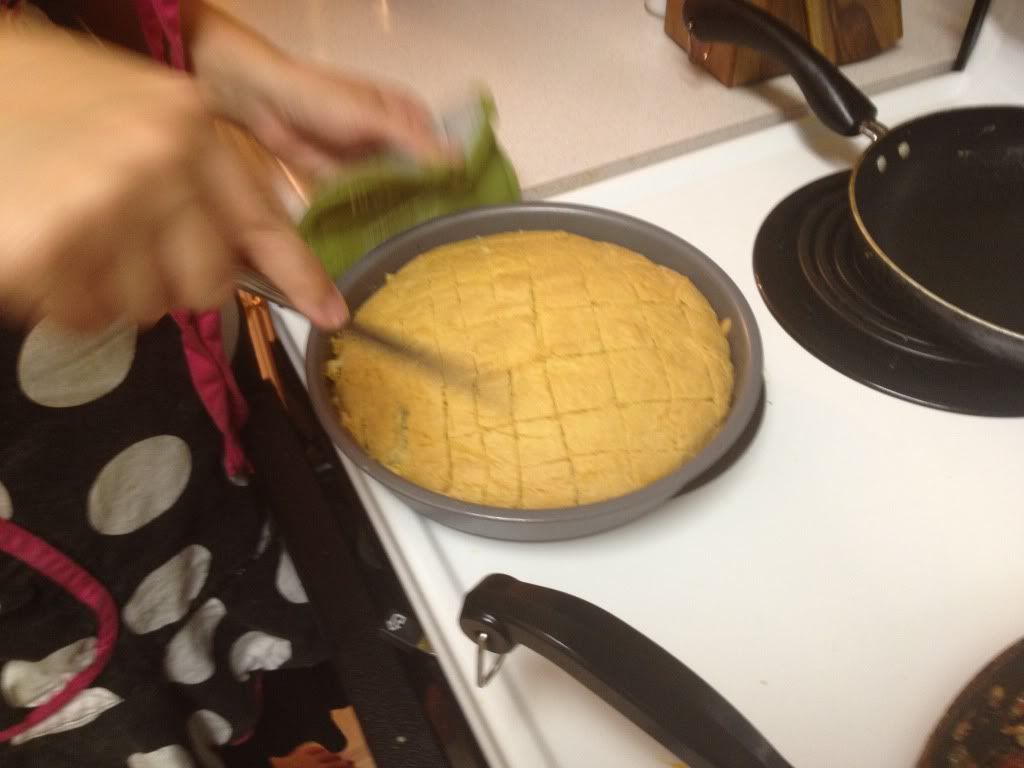
Make gluten-free yellow cake according to box instructions.  Allow to cool, then cut into tiny squares.

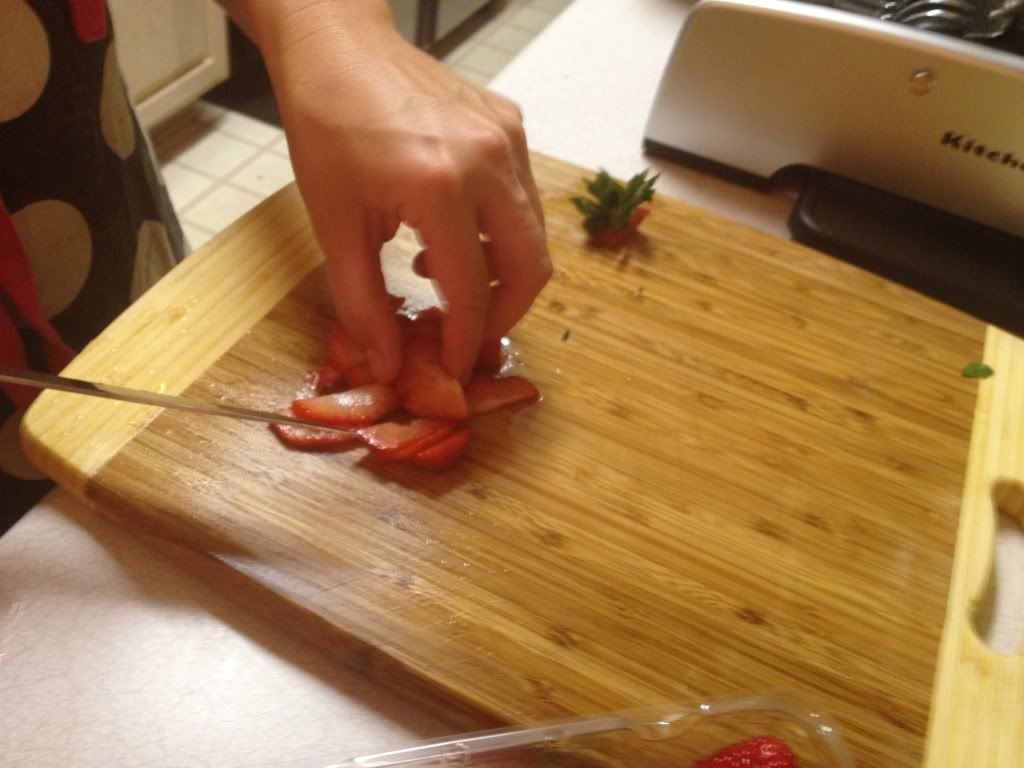
Chop strawberries into small pieces.
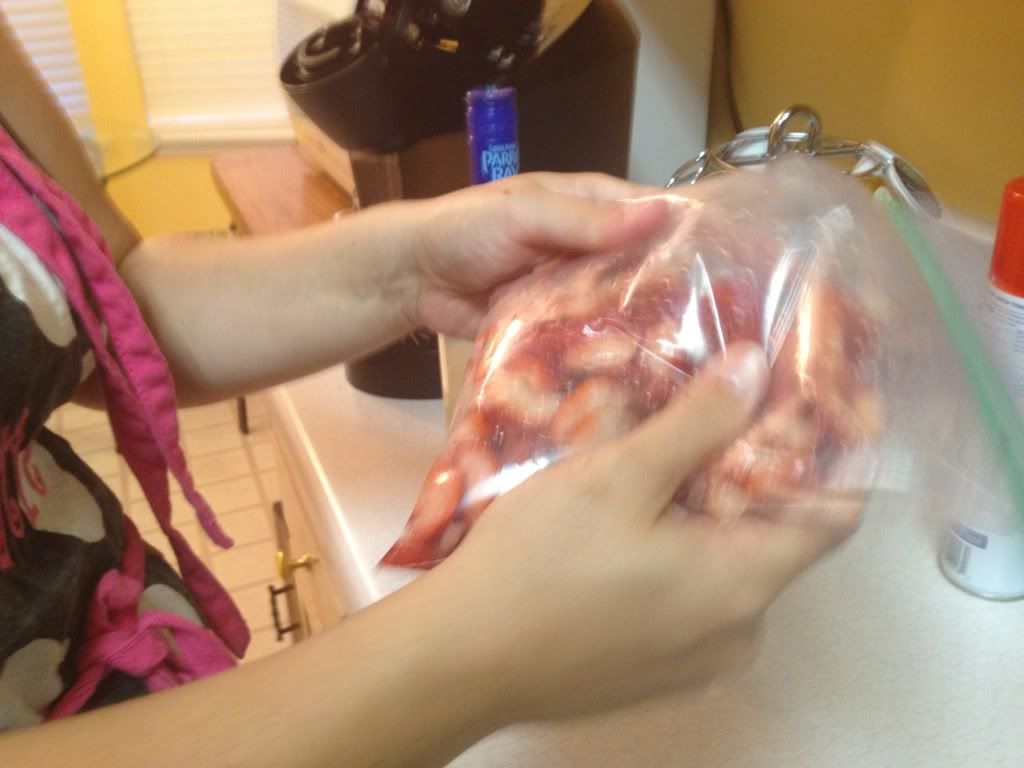
Put chopped strawberries, sugar, and 2 tablespoons coconut rum into a ziploc bag and shake to coat the strawberries. Leave the strawberries in the rum mixture for approximately 15 minutes.
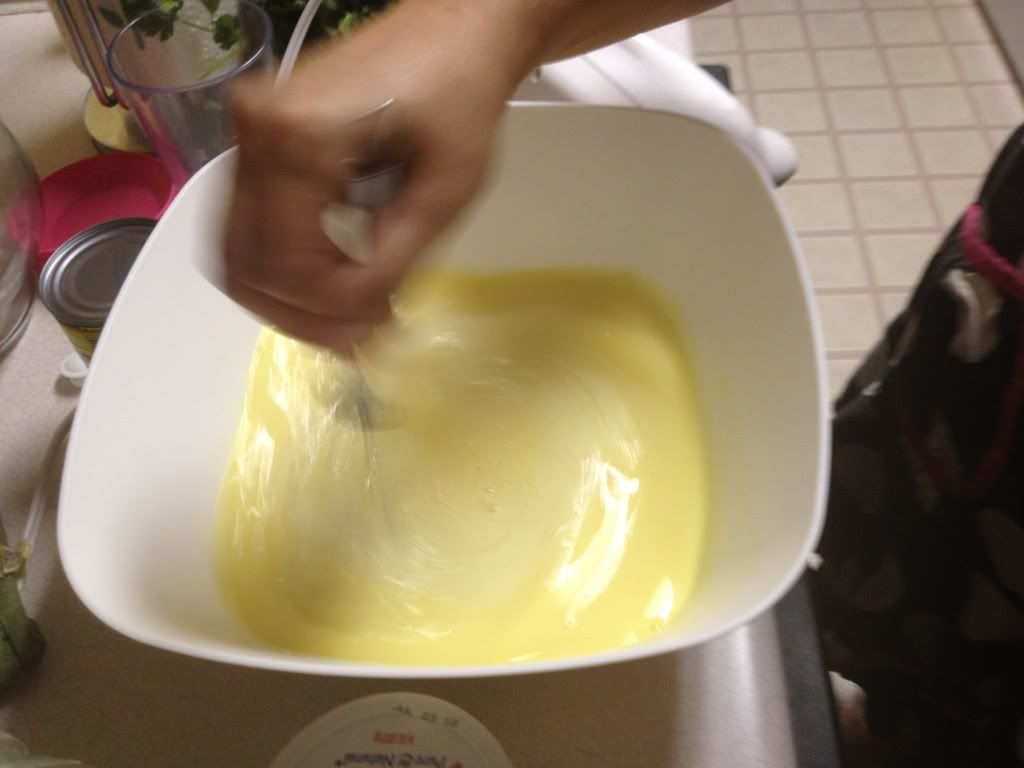
Make banana pudding by combining pudding mix with milk and whisking according to package instructions. Put in fridge for 5-10 minutes to allow banana pudding to set.
Once pudding has set and strawberries are done soaking, assemble remaining ingredients (cake, Cool Whip, pudding, jam, strawberries, bananas, coconut rum, coconut flakes) together. Crumble enough cake to put a solid layer on the bottom of your dish or bowl.
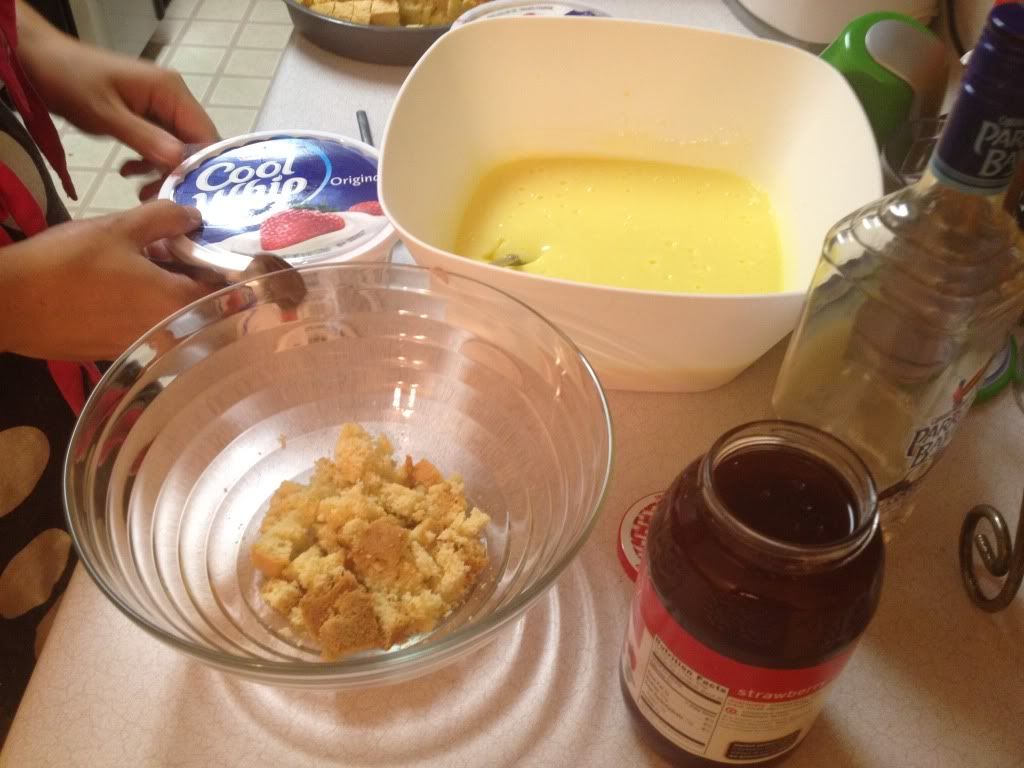
Sprinkle a small amount of rum (about 1/4 the shot) over the cake, then top with strawberry jam. Add a light layer of rum-soaked strawberries.
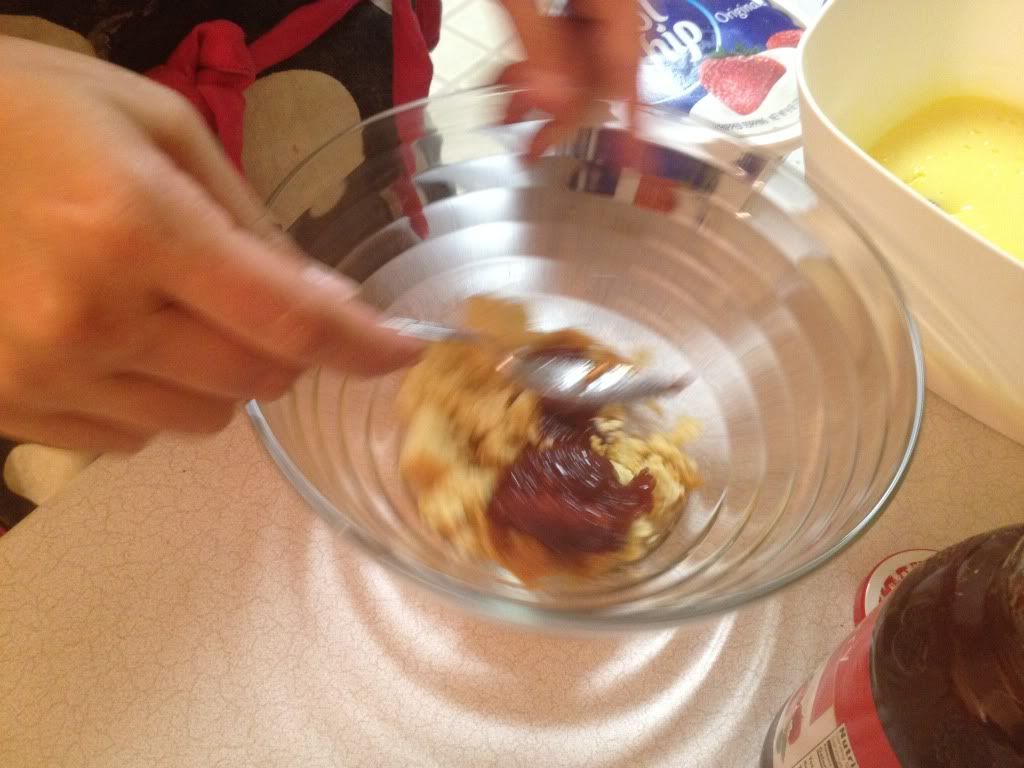
Layer banana pudding on top of the jam.
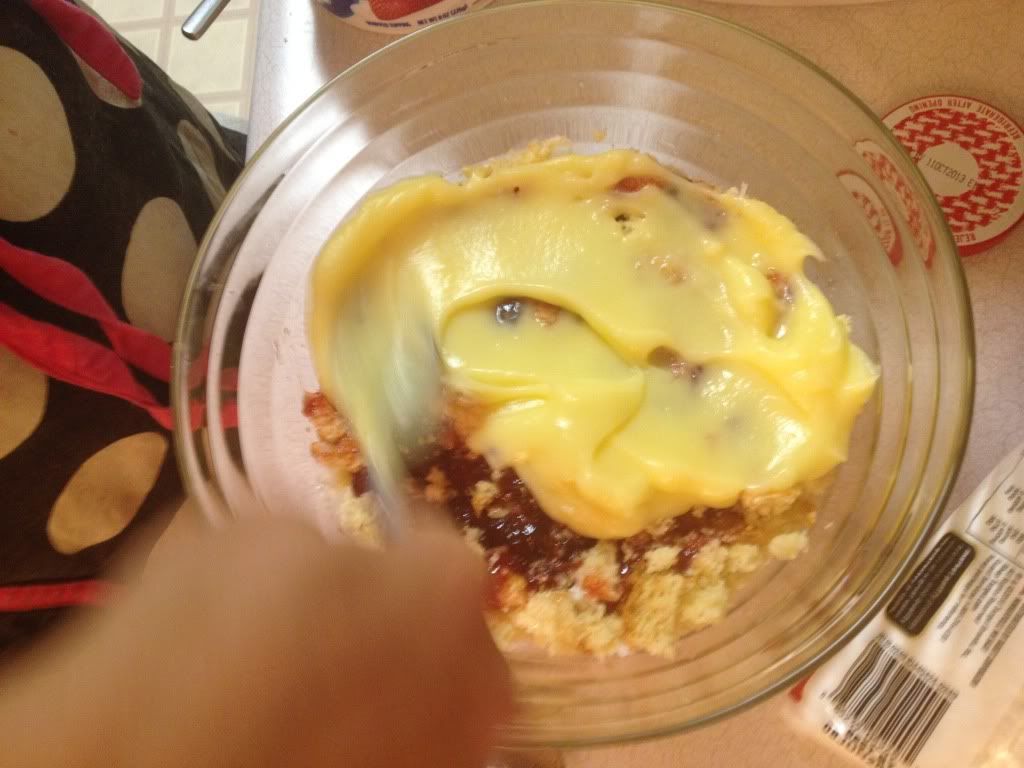
Layer Cool Whip on top of the banana pudding. Repeat these layers twice (cake with rum, jam, strawberries, banana pudding, Cool Whip) until you reach the top of the dish/bowl. Put on last layer of cake on, and sprinkle with rum. Then top with chopped banana slices.
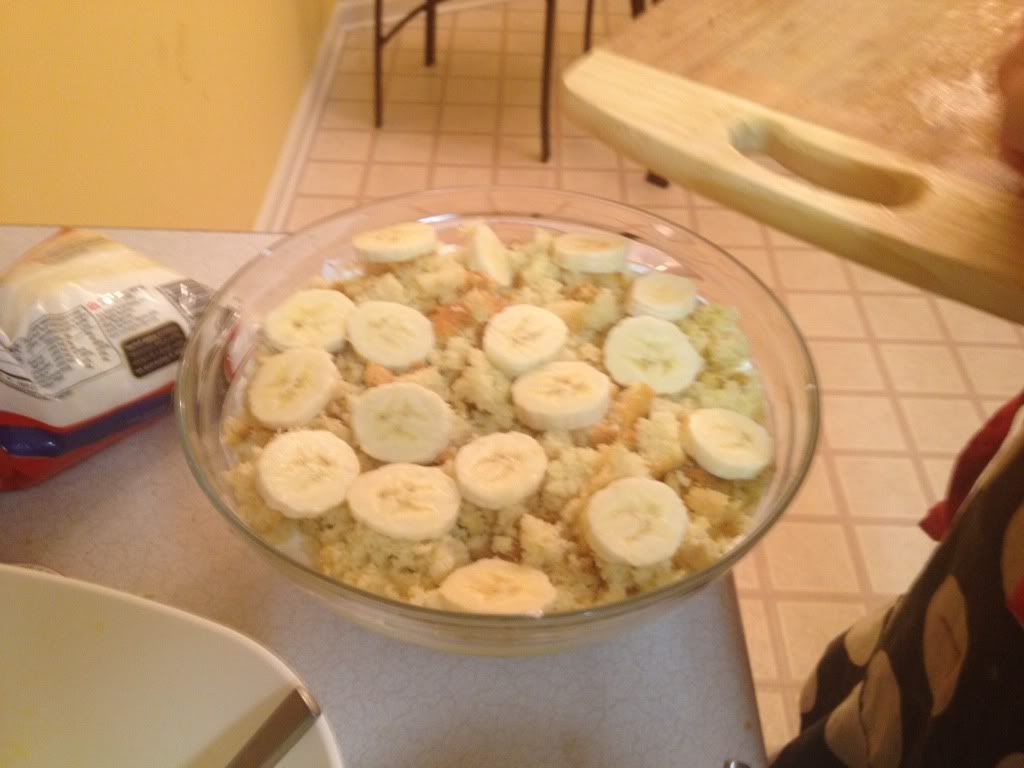
Layer banana pudding over the banana slices, then Cool Whip.
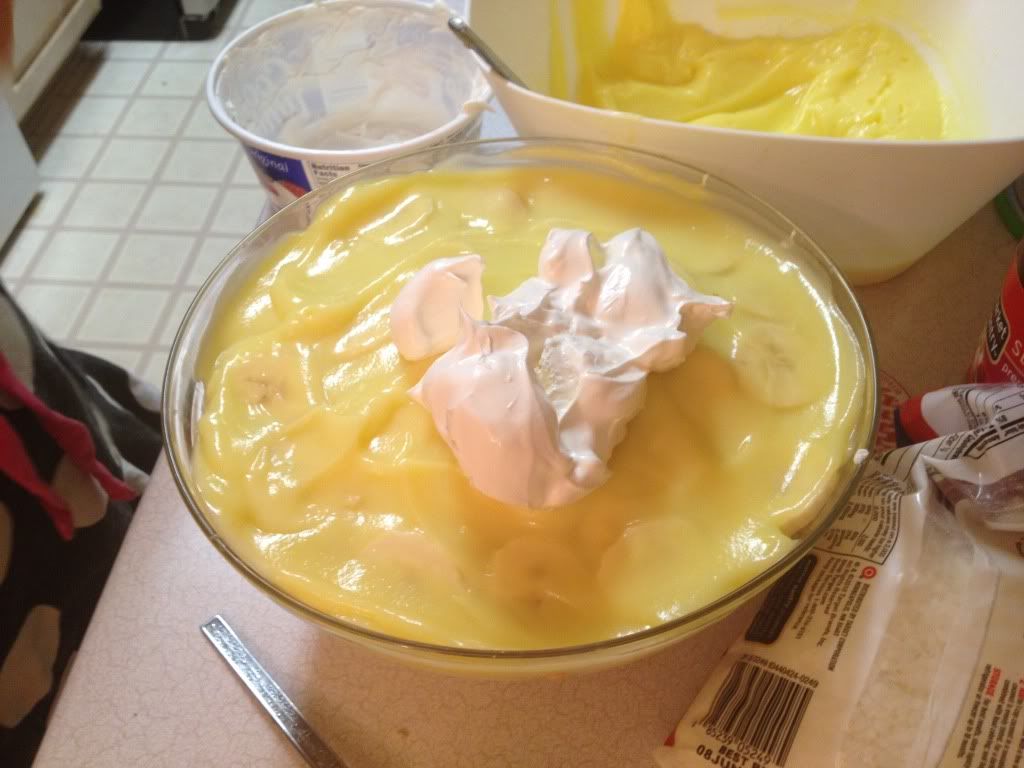
Top the cake with the remaining strawberries and the coconut flakes. Refrigerate for 4 hours to allow the flavors to blend, then serve.
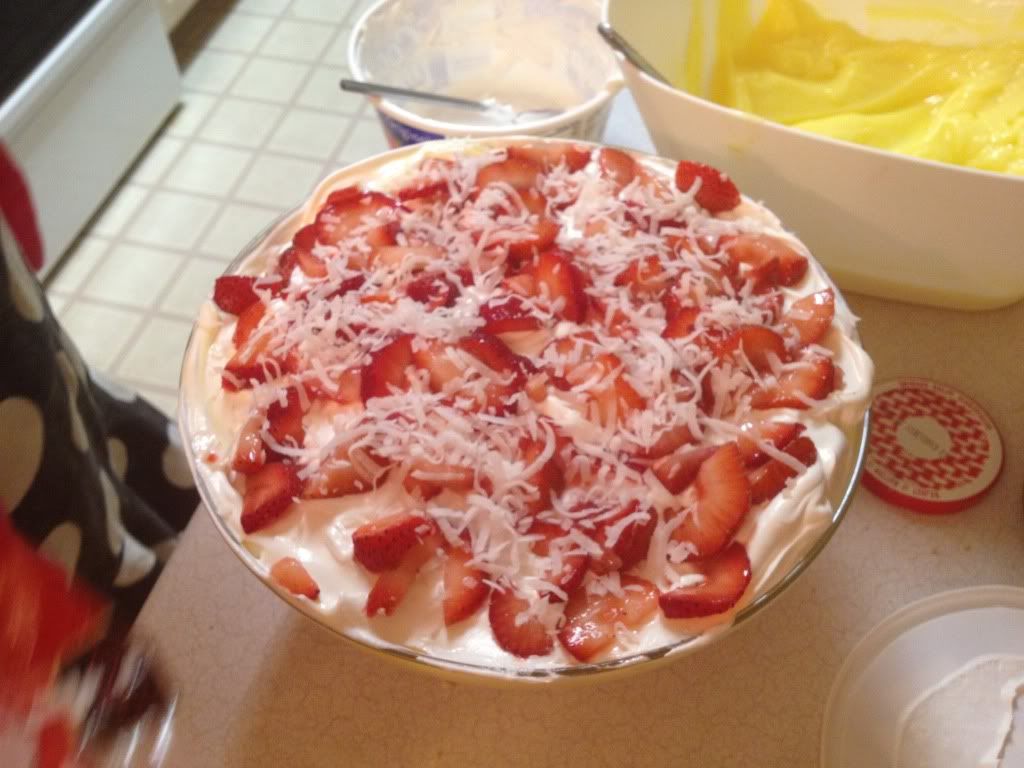
Servings: About 20
Calories per Serving: Approximately 200 calories per serving
What Else You're Getting: Vitamin C, folate, riboflavin, vitamin B6, pantothenic acid, magnesium, copper, manganese, as well as dietary fiber and small amounts of other vitamins and minerals. Cheers!
Friday, June 22, 2012

Gluten-free Southern Fried Chicken and Mashed "Potatoes"

One of the best things about living in the South is being constantly surrounded by all kinds of "soul food."  Fried chicken.  Fried catfish.  Hushpuppies.  Loaded mashed potatoes. Okra, collard greens, ham hock and green beans.  You get the picture.

Unfortunately, many of those foods are incredibly unhealthy and not suited to either a gluten-free or low-carb lifestyle (in other words, they're a heart attack on a plate).  The good thing is that at least some of them can be modified into healthier versions that satisfy both gluten-free and low-carb dieting.  This time, I'll show you how to make good Southern fried chicken and mashed "potatoes" made of cauliflower.

This Nom Needs:
Fried Chicken:
1 pound chicken, boneless, skinless (thighs or breasts or both)
1 cup raw pecans
1/2 cup raw almonds
2 tablespoons Montreal Steak seasoning
2 eggs
1/2 cup rice flour
2 tablespoons coconut oil
(this recipe requires a food processor or other instrument of crushing)

Mashed Cauliflower:
1 package frozen cauliflower
3 tablespoons butter
1/4 cup heavy cream
Salt and pepper to taste
1 tsp chives

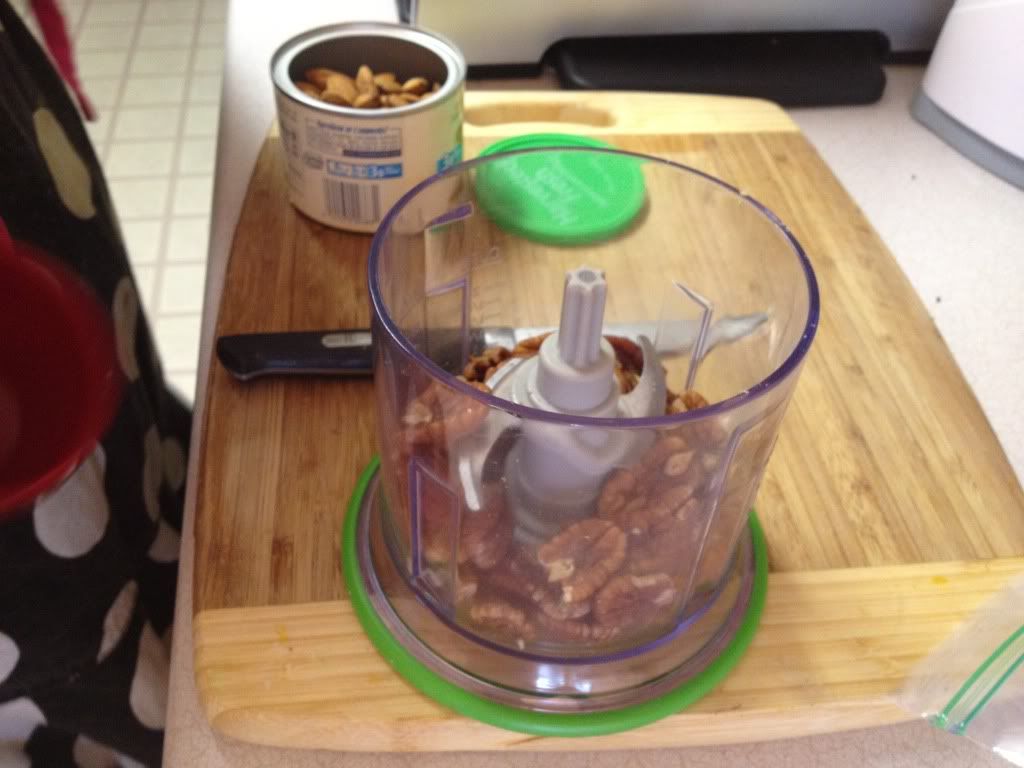
For the chicken:  First, take cup of pecans and pour them into a food processor.

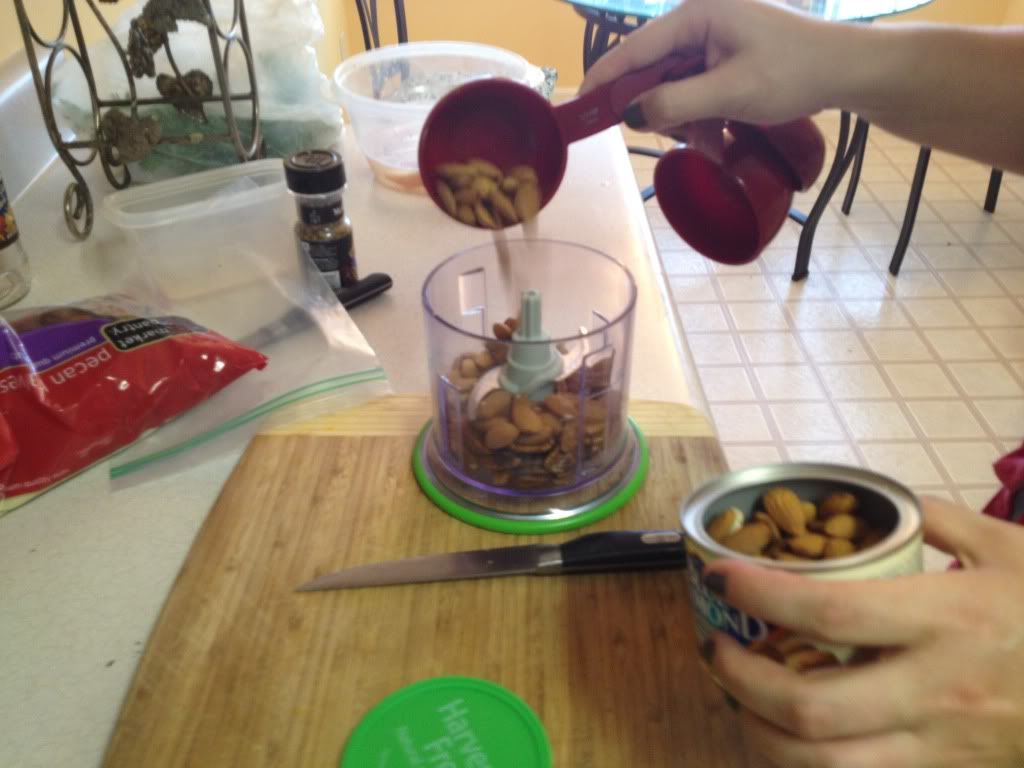
Next, take the 1/2 cup of almonds and pour them in on top of the pecans.

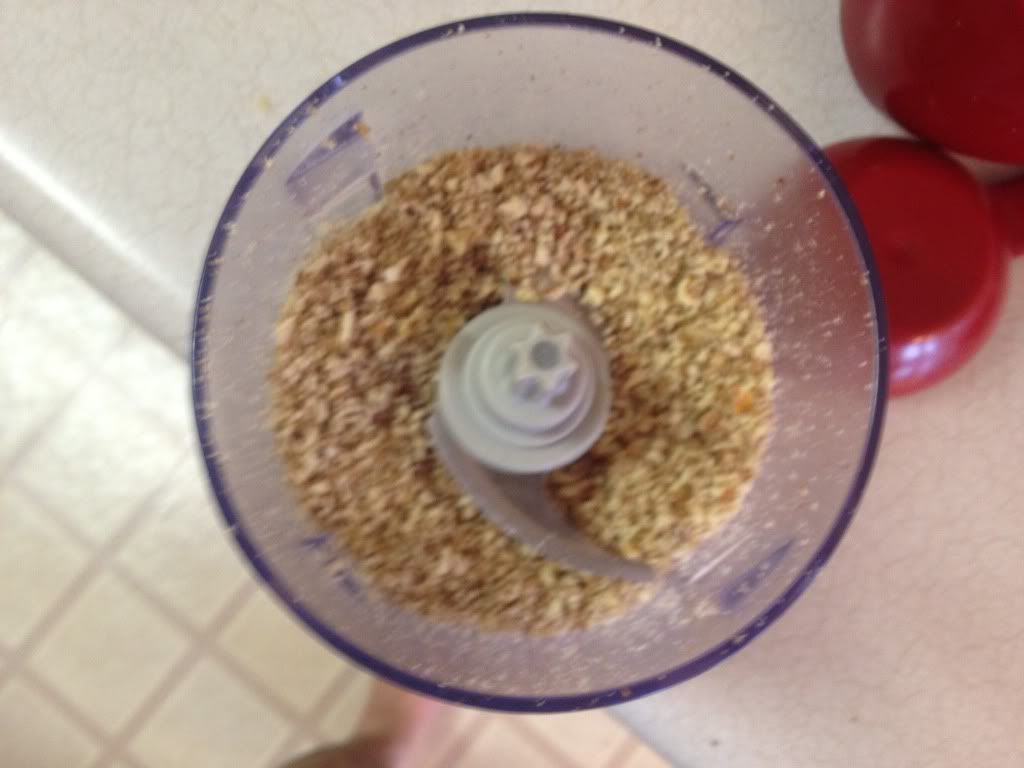
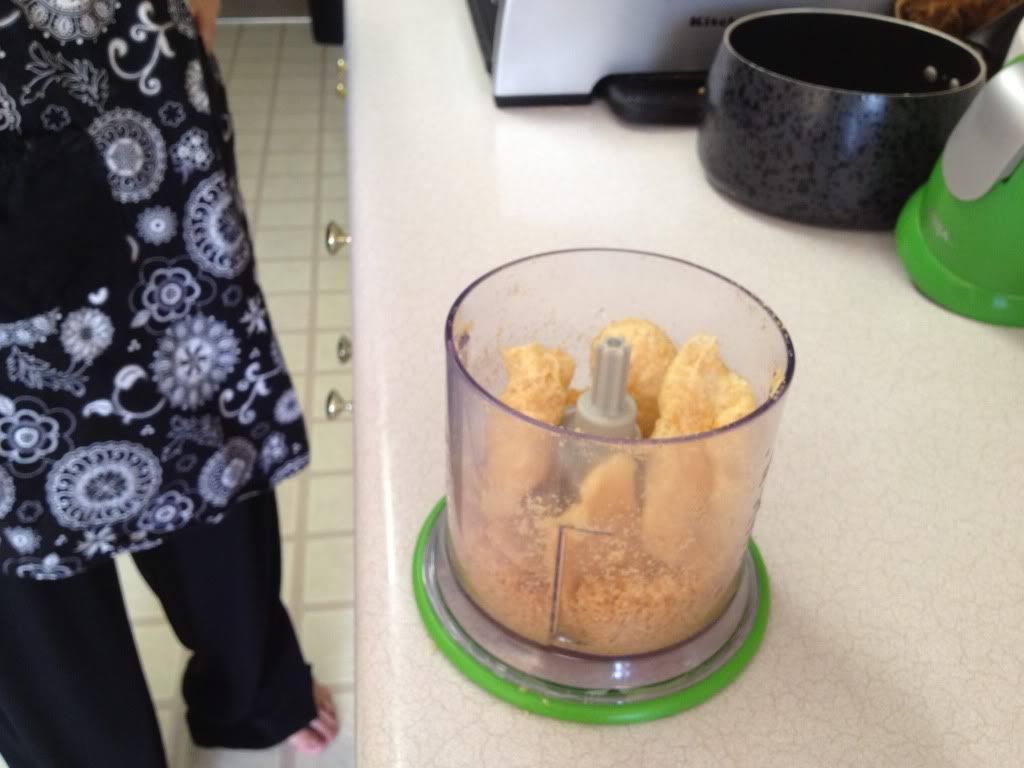
Process the nuts together until they form an crumb-like mixture.
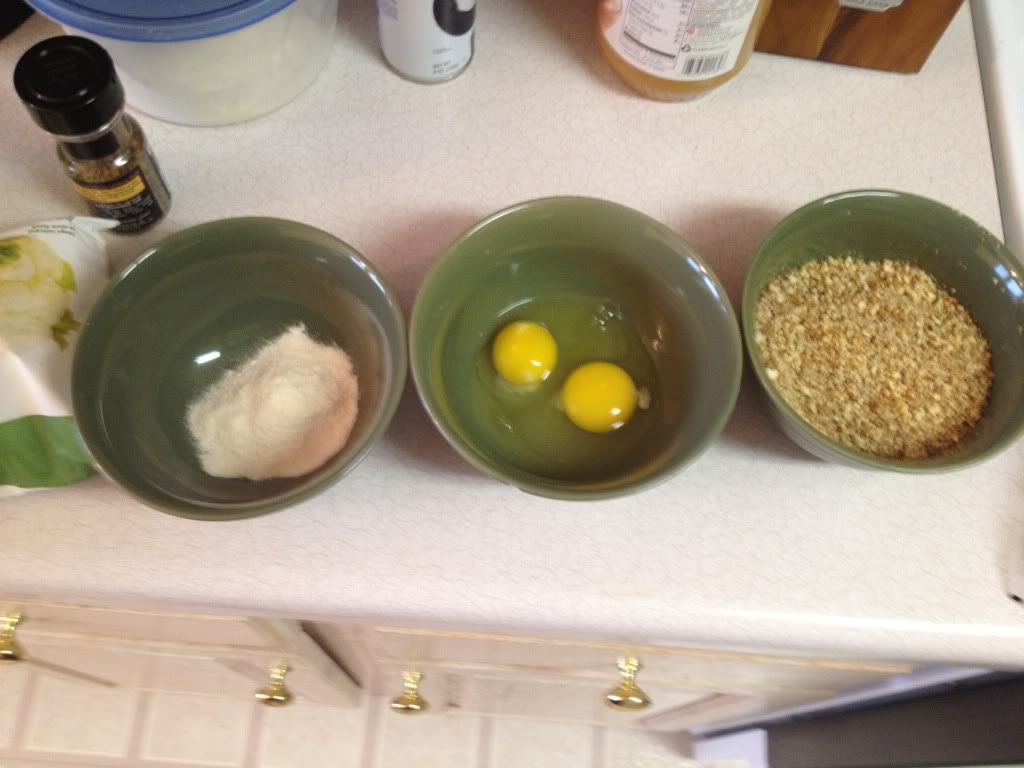
Assemble three bowls. Pour the 1/2 cup of rice flour into the first bowl. In the second bowl, add the two eggs. Pour your nut mixture into the third bowl. Add the two tablespoons of Montreal steak seasoning to the nut mixture and stir until evenly mixed in.

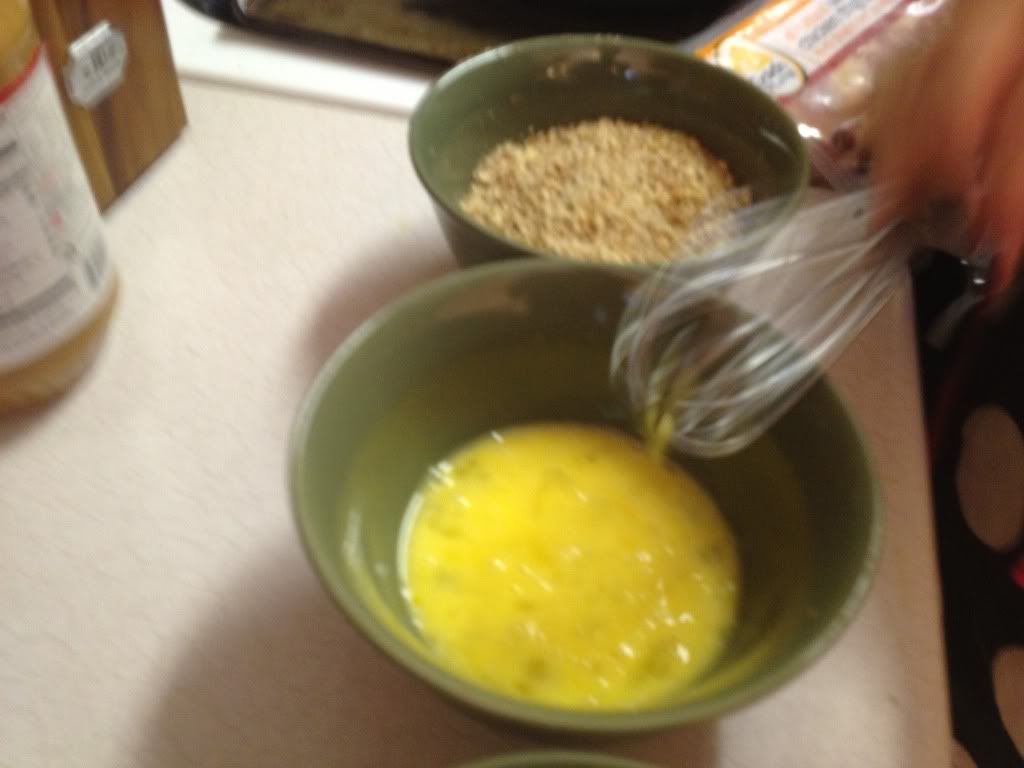
Whisk the eggs in the second bowl until well-beaten.
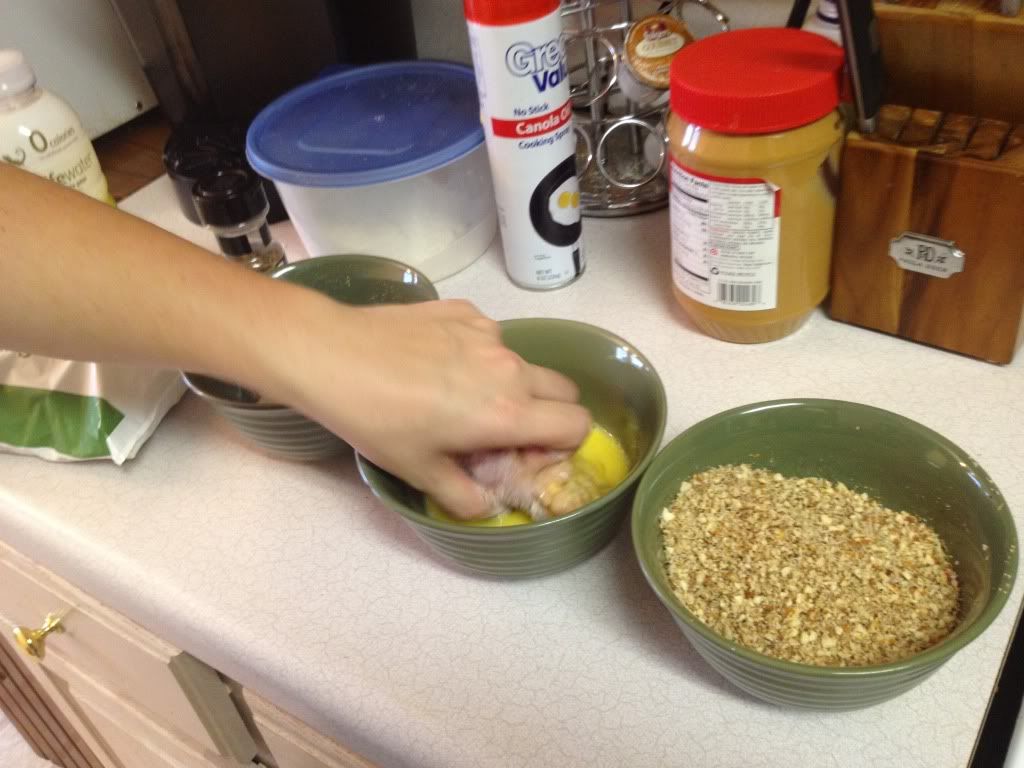
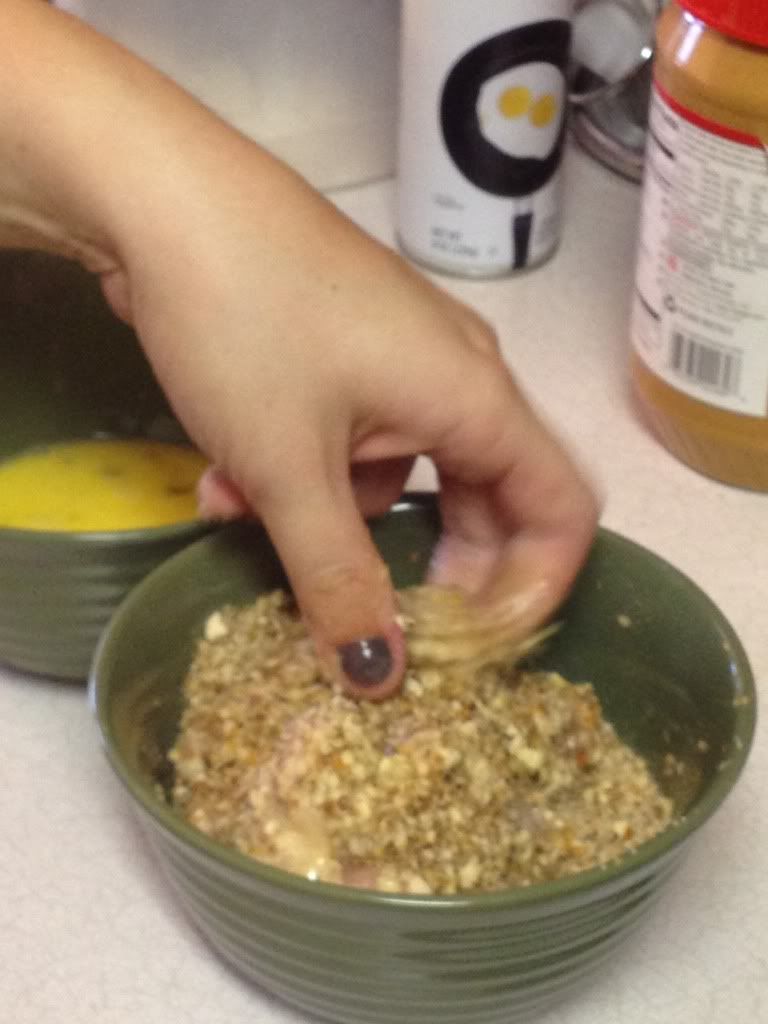
Take each piece of chicken separately. First, place chicken piece in rice flour and roll to coat. Then dip each chicken piece into the egg mixture, taking care to ensure every bit of the chicken is covered in egg. Then roll the chicken in the nut mixture to firmly coat.


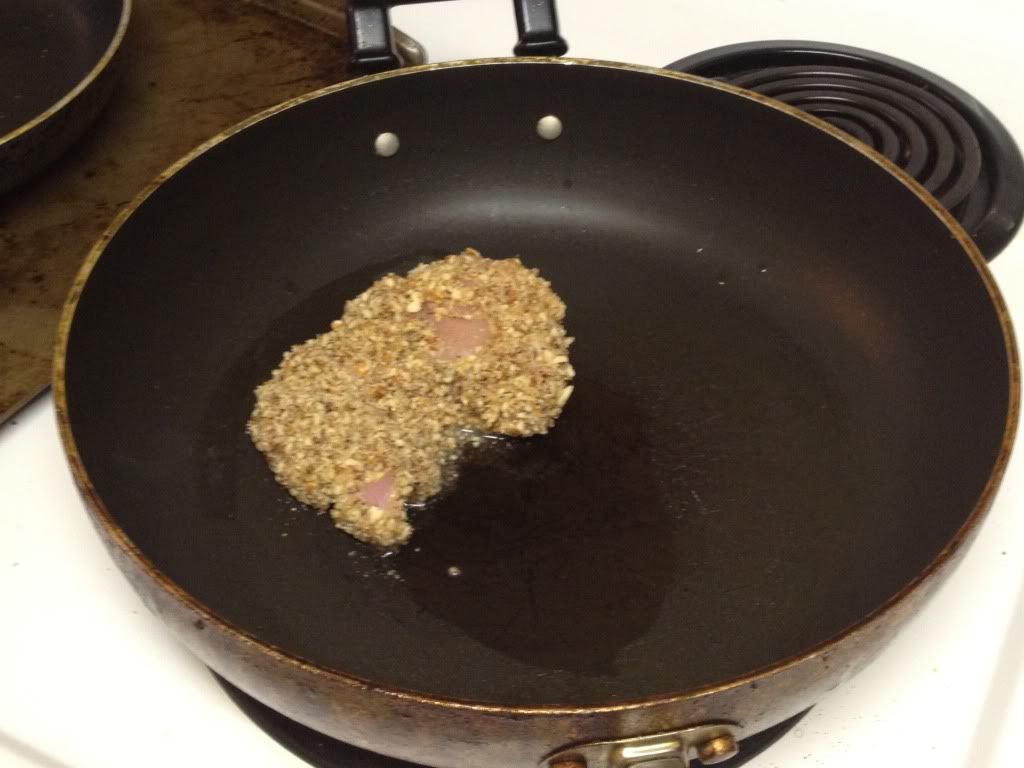
Place chicken in pan with coconut oil on medium low-heat. Cooking time will depend on the thickness of the chicken, but usually it takes 5-6 minutes per side to cook.
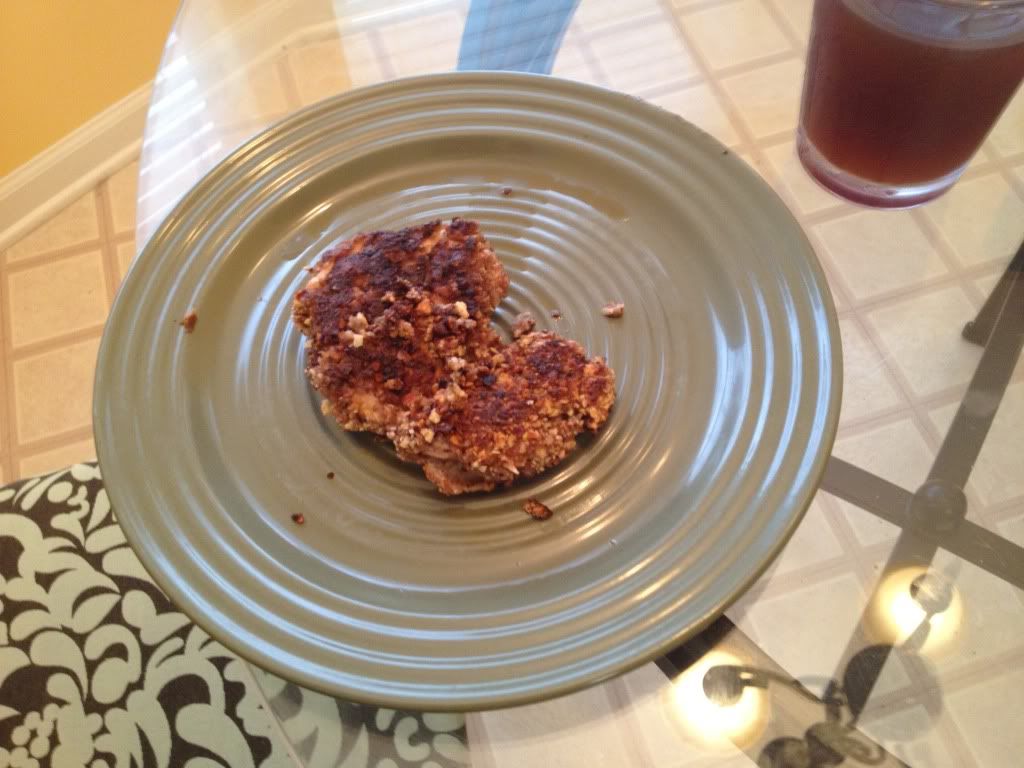
Once the coating has browned and the chicken is cooked all the way through (no pink spots), you're done!


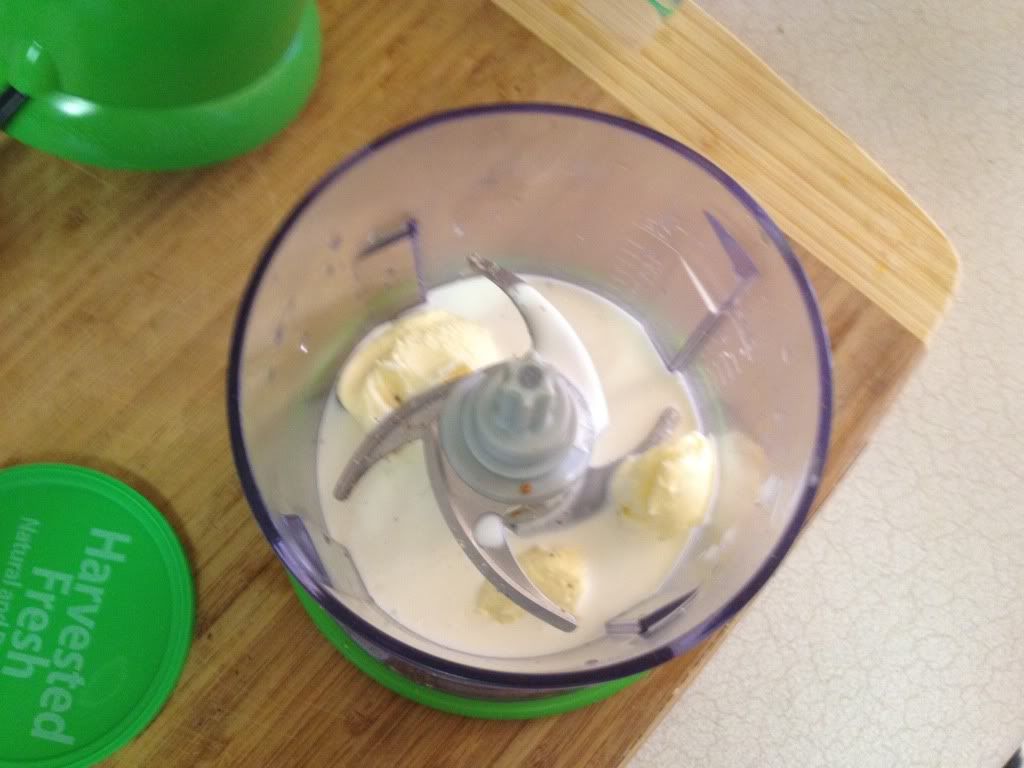
While the chicken is starting to cook, you can then work on your mashed cauliflower. I use frozen cauliflower rather than fresh because I find it makes the texture smoother in the end. Prepare the cauliflower in the microwave as directed on the package. While it's steaming, place the butter and cream in your trusty food processor (I don't know what I'd do without mine. Starve, probably).

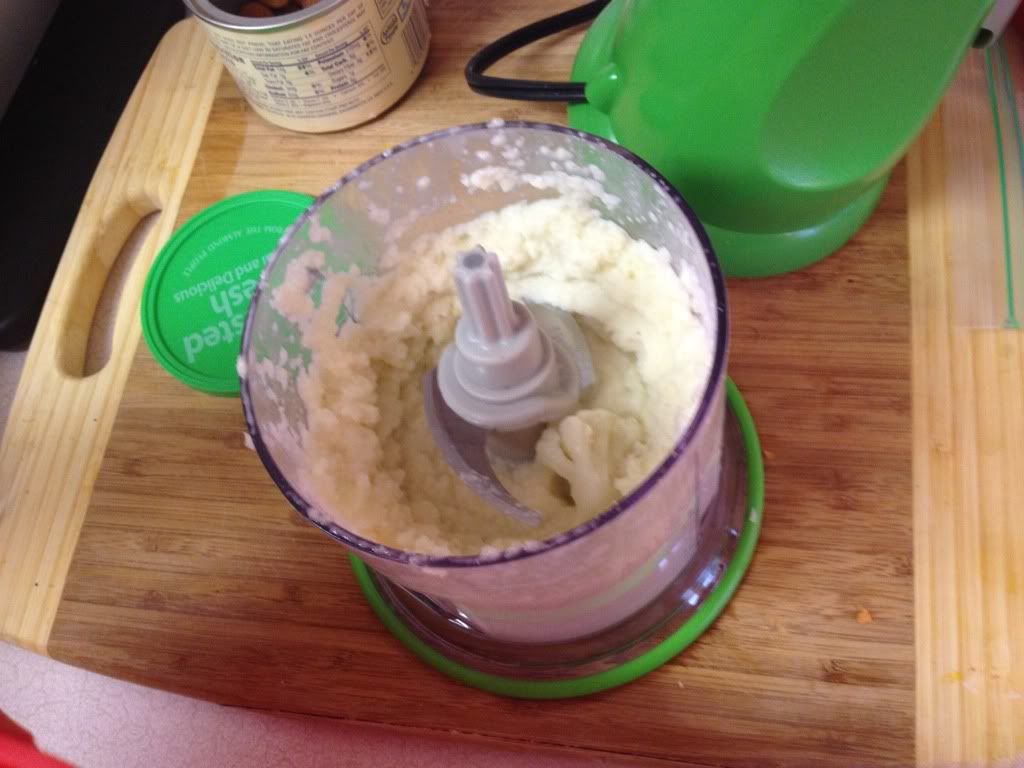
Once the cauliflower is steamed, add it to the food processor and blend it. You may have to do it in "batches" depending on the size of your food processor. In the end it should resemble the consistency of creamed potatoes.

Remove the cauliflower from the food processor, and put it in a bowl. Add preferred seasonings and stir until well-mixed, then serve!

Servings: 4
Calories per serving: Using chicken breasts (and counting mashed cauliflower), approximately 500 calories; using chicken thighs, approximately 650 calories.
What Else You're Getting: Thiamin, vitamin B6, riboflavin, vitamin E, niacin, folate, vitamin C, vitamin K, calcium, iron, magnesium, phosphorus, potassium, zinc, copper, manganese.
Tune in next time for a gluten-free (but not low-carb) strawberry-banana-coconut rum trifle! And for the Technorati entry, here's a code: DMXT9KUUEQUT

Thursday, June 14, 2012

Scalloped Oysters

Today, my friends, I will walk you through the steps of creating a perfect béchamel sauce as part of a dish of scalloped oysters.  If sauces previously bewildered you (and I know they did me, let's not talk about my first attempt at a caramel sauce), I hope I can clear away some of the confusion.

Béchamel sauce is one of the five "mother" sauces in French cooking.  It's often used as a base sauce for a more "complicated" sauce such as Mornay (béchamel with cheese).  This version of a béchamel sauce is actually a combination of traditional béchamel and velouté sauces.  This sauce will serve as the "base" for your scalloped oysters.

Now that we're done being pretentious, here's the ingredient list:

This Nom Needs:
1 can boiled oysters
1/2 cup cheddar cheese (preferably medium to sharp)
1 tsp paprika
1 tbsp butter or oil (for greasing)
Four 3 inch-round ramekins or other oven-safe bowl

For the sauce:
2 tbsp butter
1 tbsp chopped yellow or white onion
1 tbsp brown rice flour
1/2 cup chicken broth
1/2 cup heavy cream
1/4 tsp salt
1/4 tsp pepper (use white pepper if you want to be a purist)
1/8 tsp garlic powder
1/8 tsp cayenne

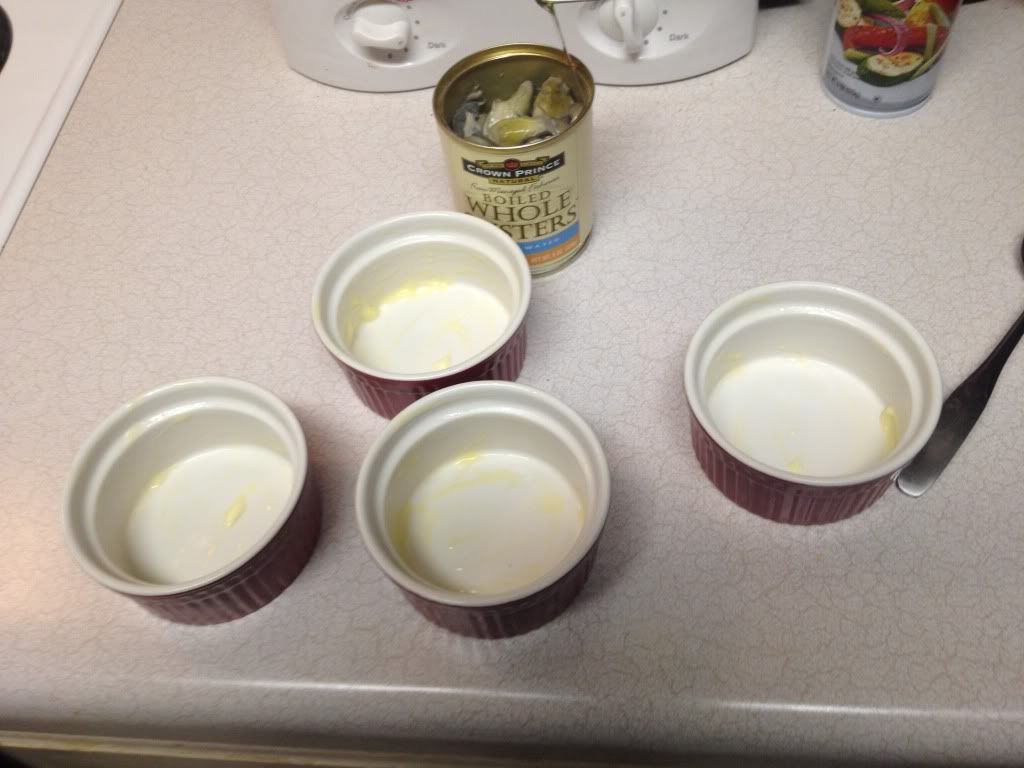
First, grease your ramekins with the butter or oil set aside for that purpose.

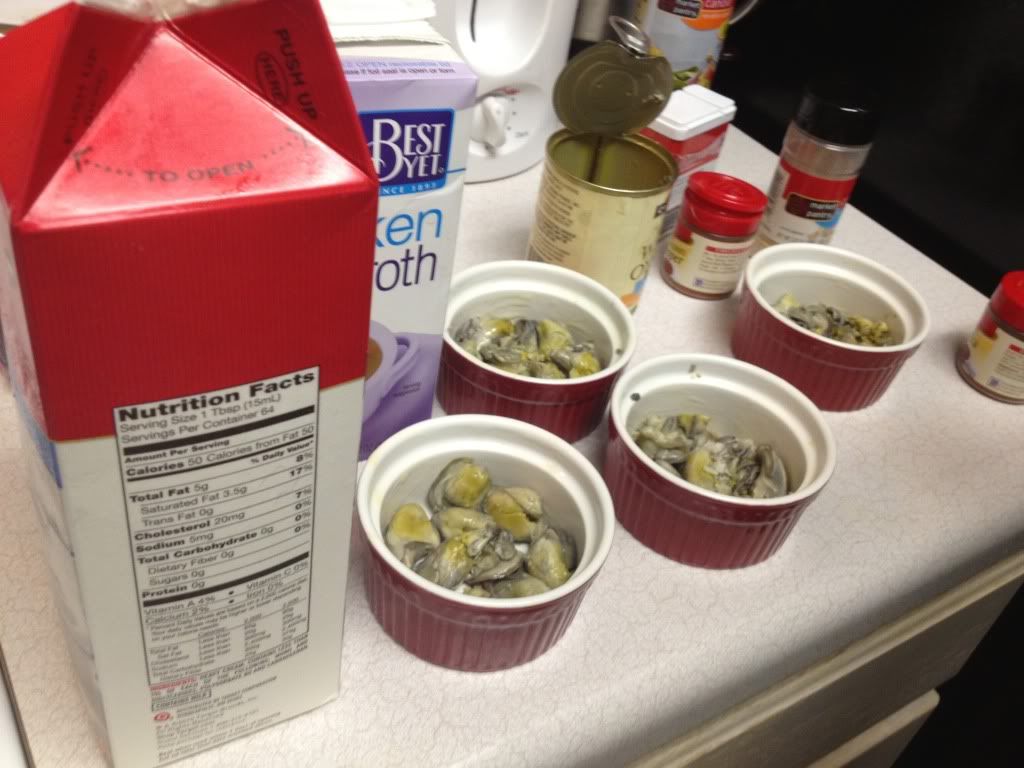
Next, divide the canned oysters into each ramekin. The oysters should cover the bottom almost entirely.

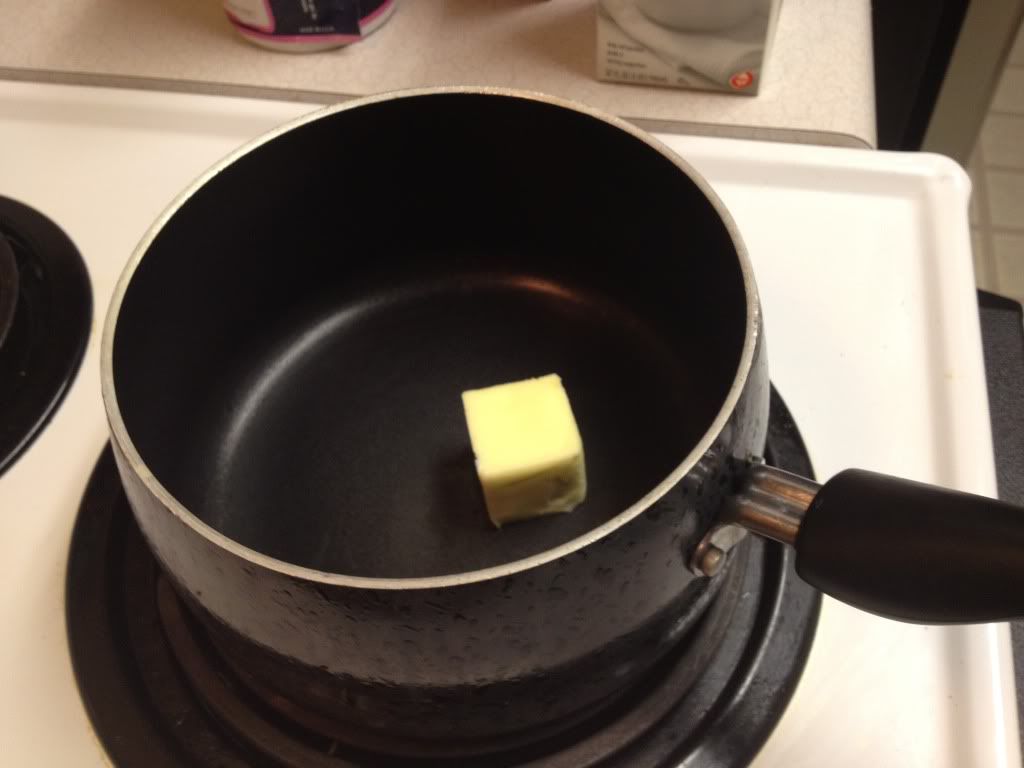
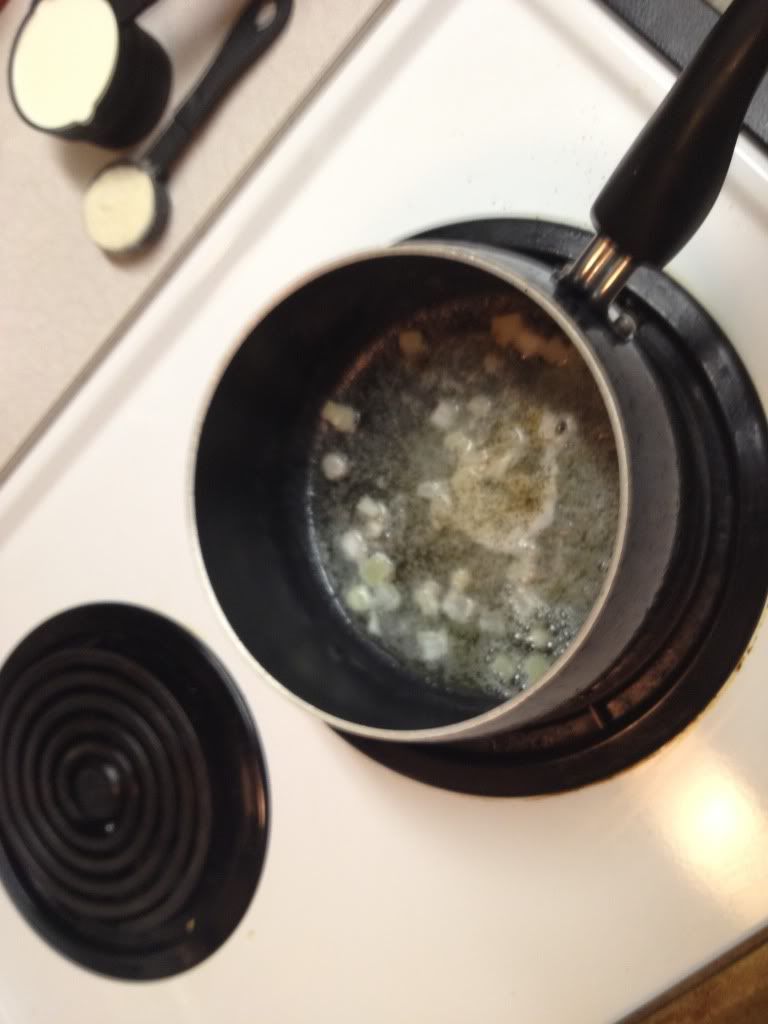
Next, start the sauce. In a medium saucepan on medium heat, melt butter.

Next, add the onion to the pan. Let it cook for a minute in the butter.
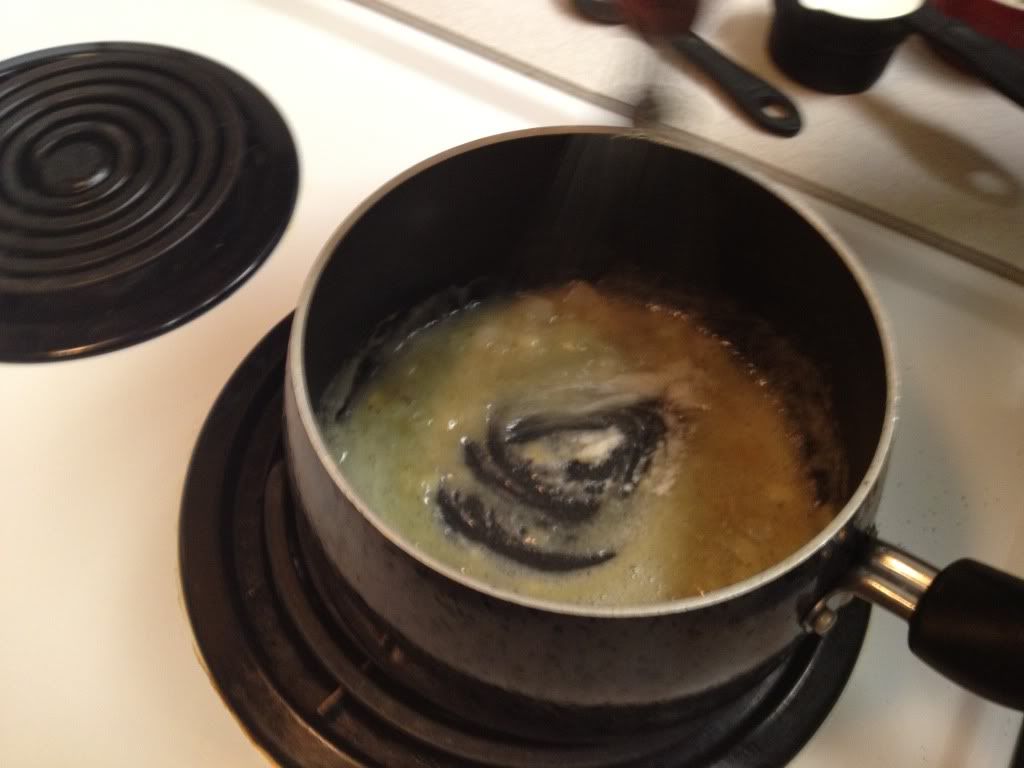
Then, add the flour and whisk mixture together. It should look a pale golden-brown.


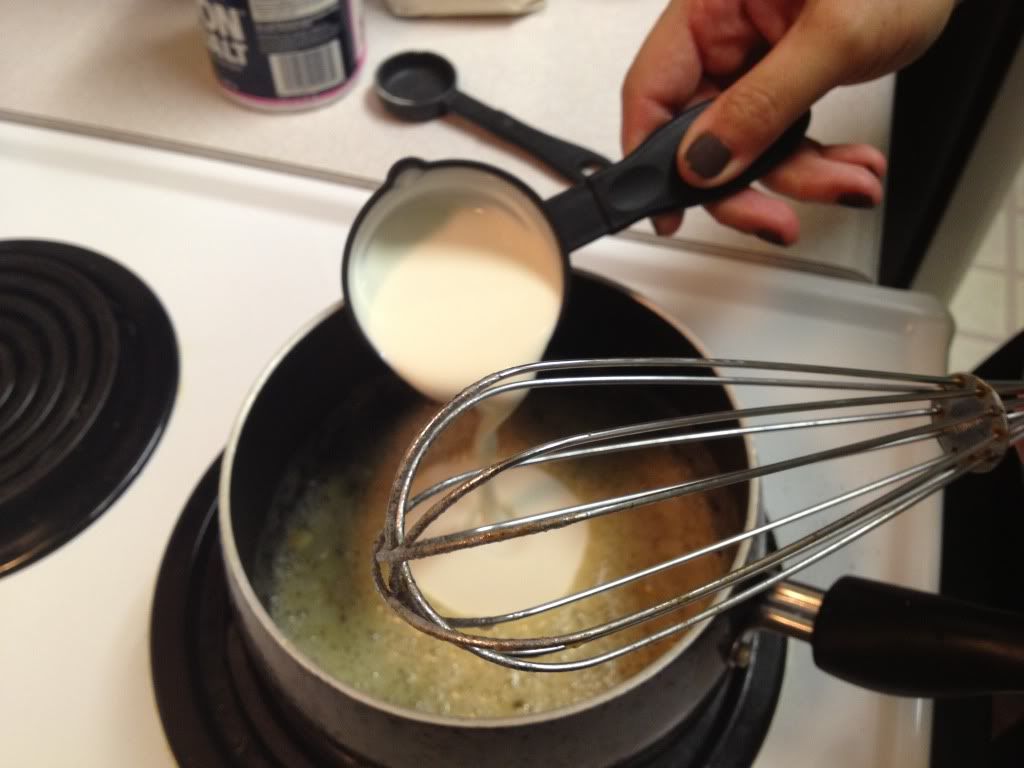
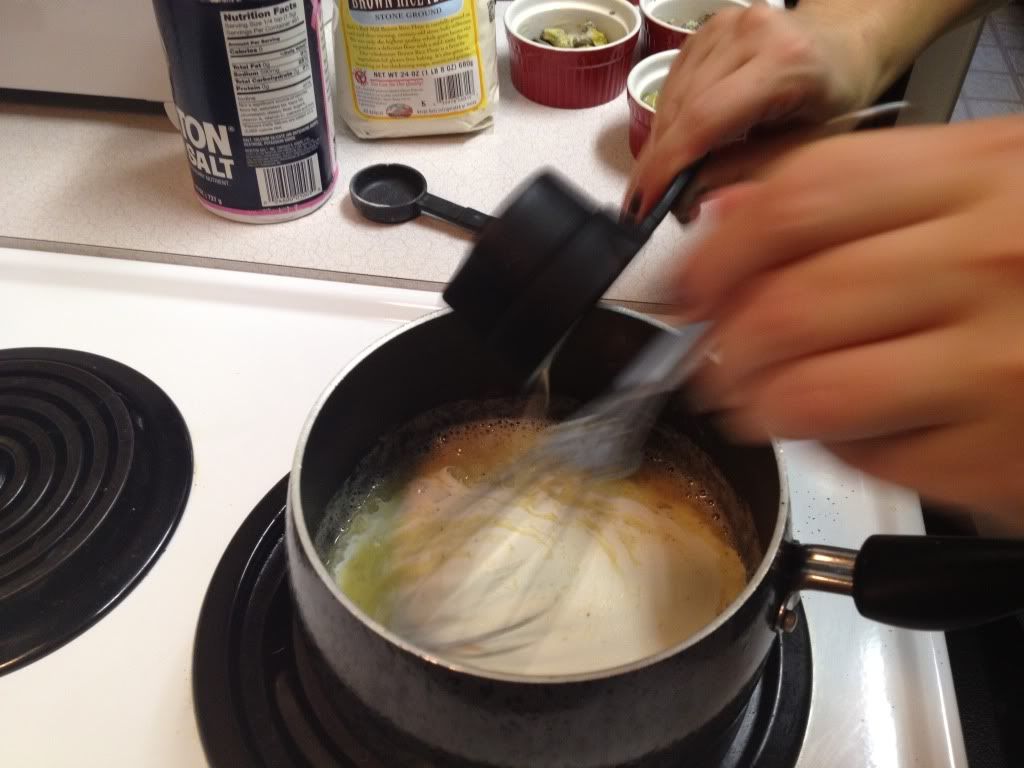
Slowly add the cream and then the broth, whisking constantly while you do so.


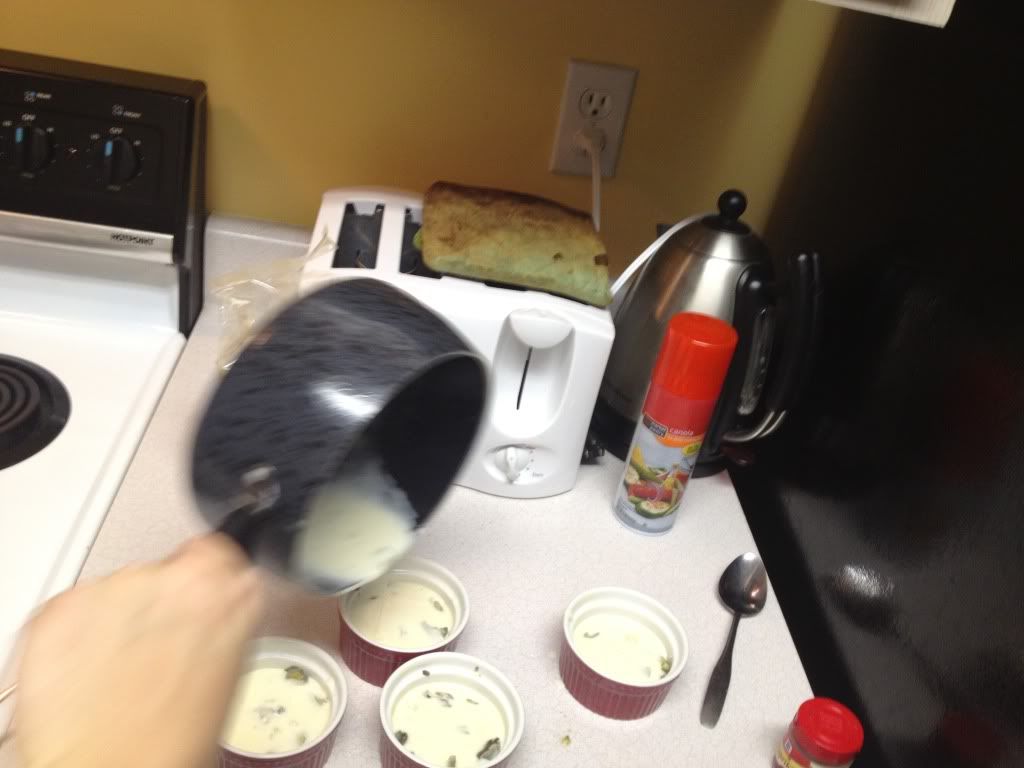
Add the garlic and cayenne. Whisk the mixture constantly -- if you leave it and it's allowed to form lumps, the sauce is ruined and you will have to start again. Cook the sauce about 5-6 minutes on medium heat, or until thick (it should be the consistency of heavy cream or slightly thicker). Take the sauce off the heat and pour it over the oysters. It should almost cover them.
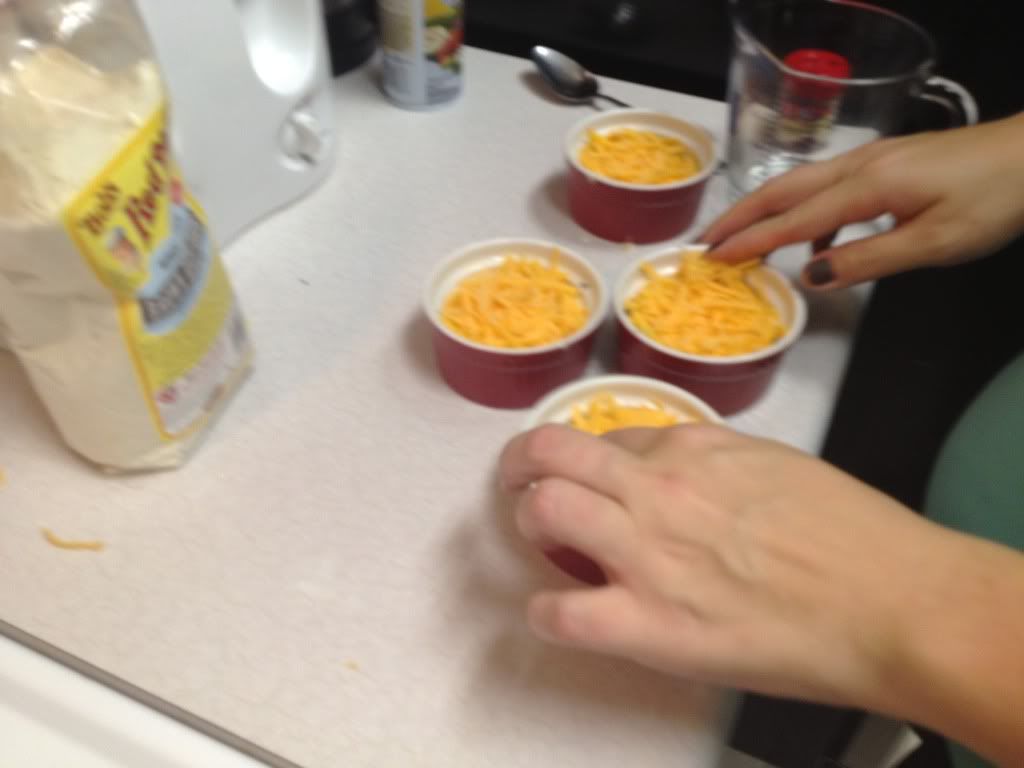
Next, take the cheese and top each ramekin off.

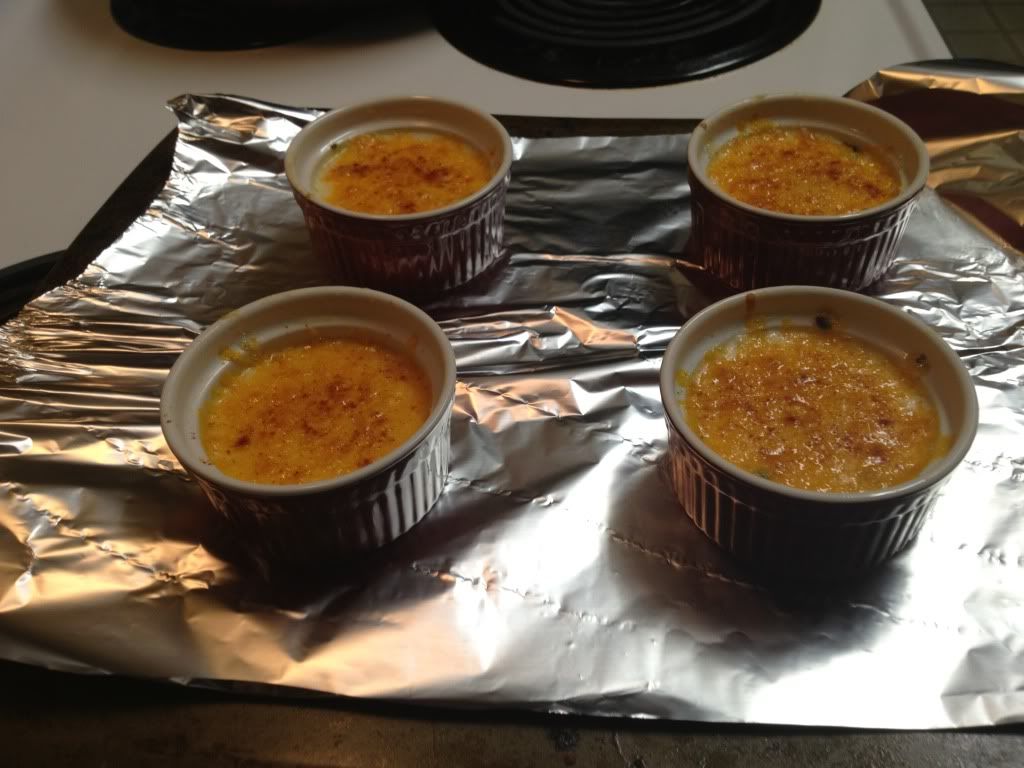
Set the oven to broil. Put the ramekins on a baking sheet and let broil in the oven about 2-3 minutes (until cheese on top is bubbly and starting to brown), then remove from oven. Sprinkle with paprika and serve!
Makes: 2 servings as a main course, 4 servings as an appetizer
Calories per serving: 455 as a main course (2 ramekins) -- please note that this is not an extremely low-carb dish and is not appropriate for people in extreme carb-restrictive phases of Atkins, etc. What else you're getting: Protein, B12, thiamin, riboflavin, Vitamin C, magnesium, phosphorus, iron, zinc, copper, manganese, and selenium, as well as Omega-3 and Omega-6 fatty acids. You're also getting small amounts of calcium from the butter & cream, and a small dose of magnesium, phosphorus, panthothenic acid, B6, niacin, thiamin, and vitamin E from the rice flour.
A note for those of you who do not like oysters: other seafood, such as shrimp or scallops, works really well in this dish. Just make sure whatever seafood you use is pre-cooked!

Tuesday, June 12, 2012

Southern Breakfast Series: Pork Rind Pancakes

As many of you may know, I am a Southerner. Southerners love their breakfasts, and what they like best is to have them brimming to the top with grease, sugars, and starches. I also enjoy breakfast, but I try to avoid eating too much fat, cholesterol, etc. in one sitting. I also avoid high-starch meals.

I found and modified a pork rind pancake recipe several months ago. This is a great breakfast for anyone who:
A) Needs to eat gluten-free
B) Is following a low-carb plan such as Atkins
C) Owns a pork rind factory

In all seriousness, this a rather good recipe. If you like eating sausage/bacon with your pancakes, then this is not much different -- and it's a lot lower in calories.

This Nom Needs:
1 cup crushed pork rind (approximately 3/4 of a 3.5oz bag)
2 eggs
1/4 cup cream (if you are lactose-intolerant, you can substitute coconut milk if you like the taste)
6 tablespoons Splenda (or regular sugar if you can't tolerate sugar substitutes)
1 tsp cinnamon
1 tsp vanilla flavoring
1/4 cup oil (I used canola)

In a food processor (or blender, or plastic bag + rolling pin) crush pork rinds to a fine powder and set aside.
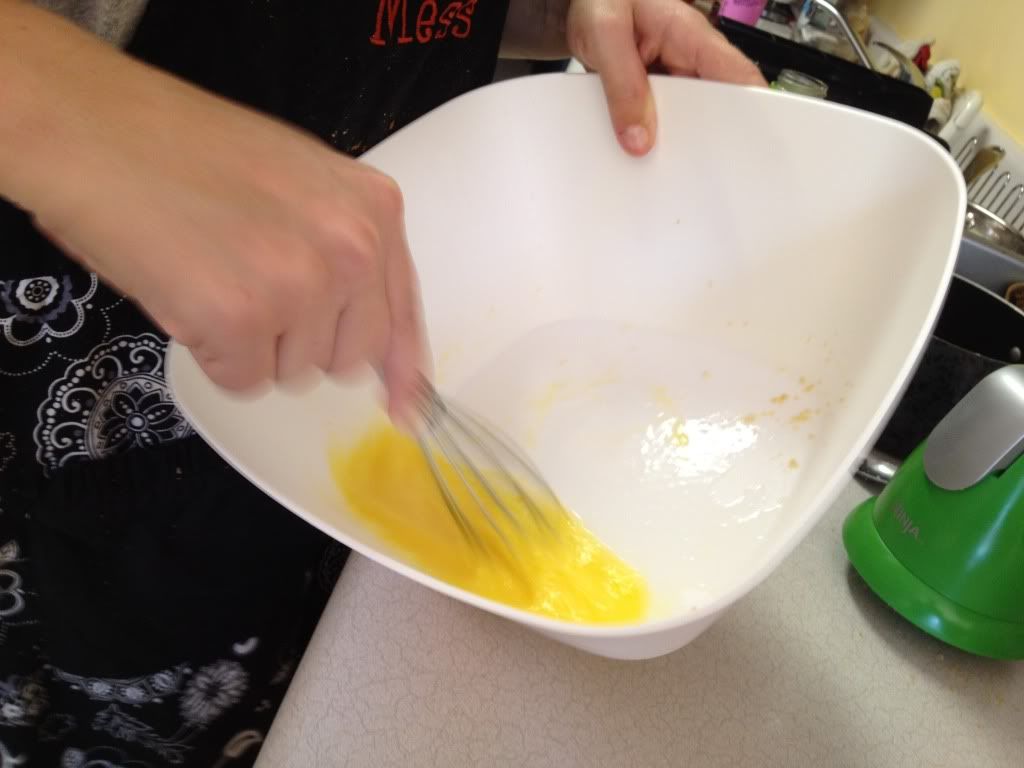
In a large bowl, beat eggs until frothy.

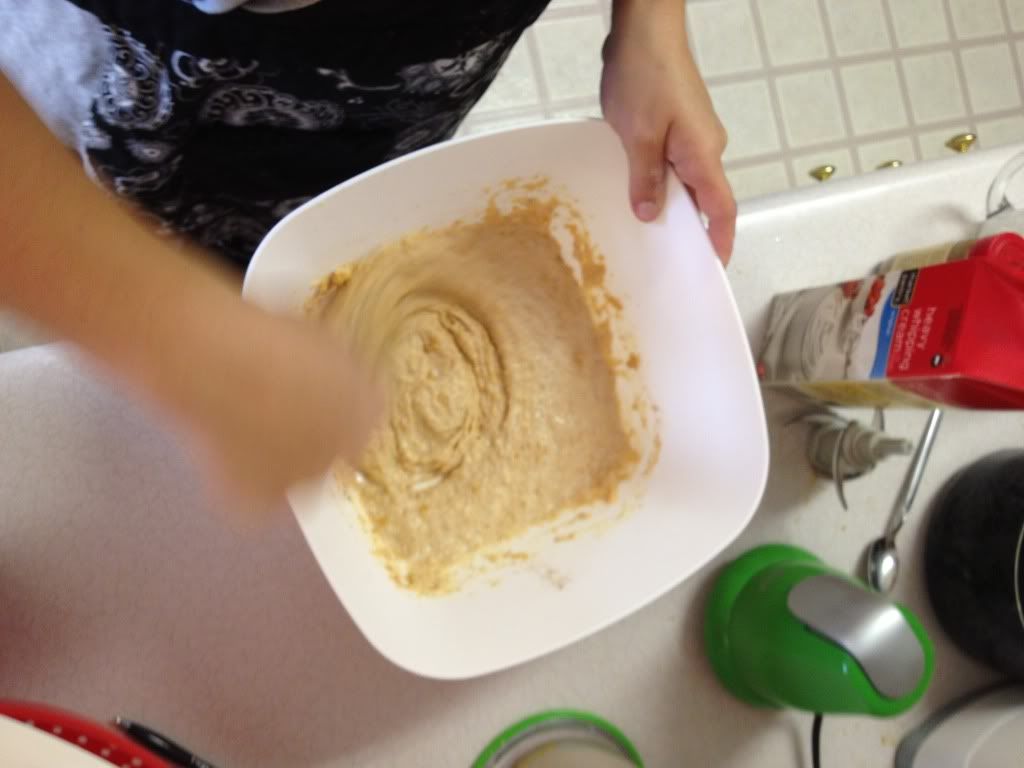
Add cream, Splenda, vanilla, and cinnamon to bowl and mix well. Stir in pork rinds and combine until mixture resembles oatmeal.

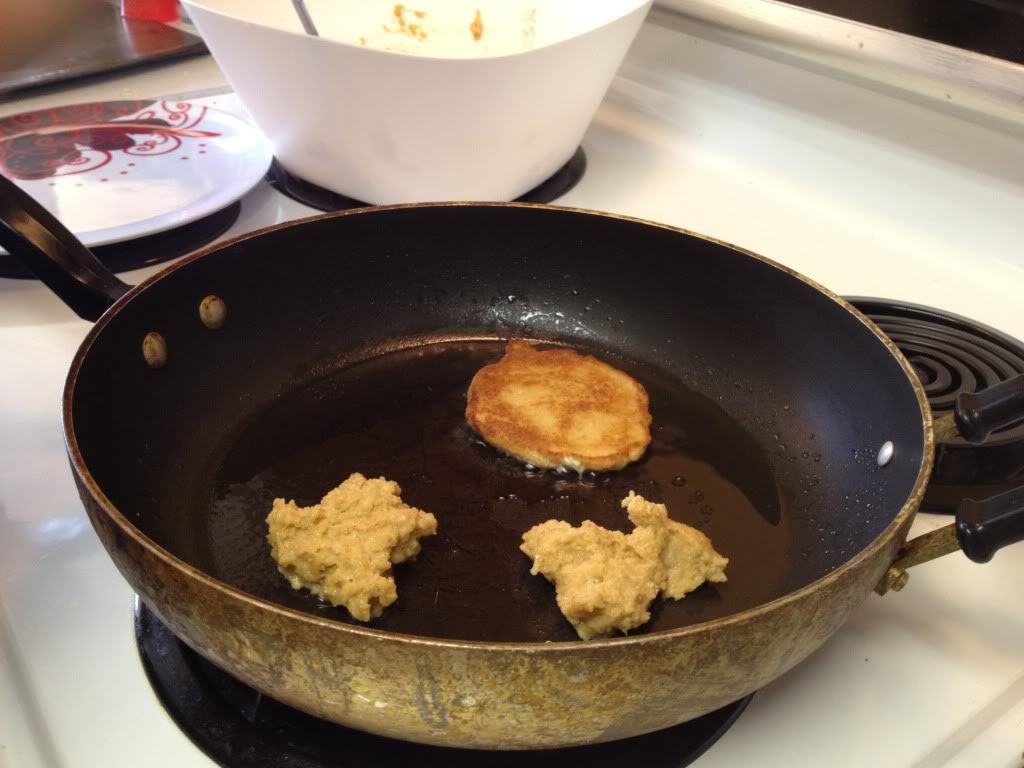
Let mixture sit for five minutes, during which time heat oil in a large pan on the stovetop at medium heat. Then add spoonfuls of batter to the oil and cook, turning to ensure both sides are browned. (You will want to spray your spatula with cooking spray or rub it with oil so that the batter does not stick to the spatula when you turn the cakes.)

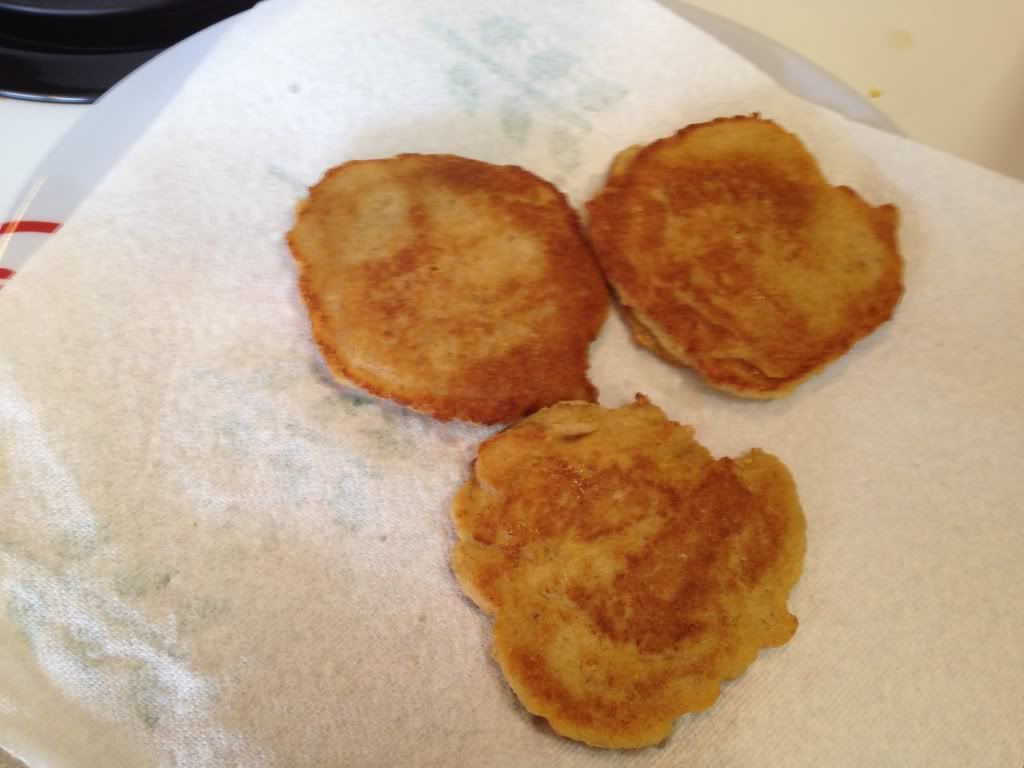
Once pancakes are evenly browned on both sides, remove from heat, pat off excess oil, and serve with your favorite pancake toppings! (My favorite toppings are sugar-free syrup and sweet reveng...I mean fruit).
Servings: 2  (makes about 6 pancakes)
Calories per serving: ~300-350 (2 McDonald's pancakes with margarine and syrup are about 600 calories)
What else you're getting:  Lower sugar (made this way, each serving is only about 3-4 grams of net carbohydrates and not much higher if you use coconut milk in place of cream); Vitamin A, Vitamin D, riboflavin, phosphorus, selenium.

Monday, June 4, 2012

Parsnip Pasta!

Welcome to my cooking blog! I am a big-time foodie and a devotee of the art and science of food. I'm sure I'll be talking a lot about the artistic and scientific merits of cooking for yourself (and others) in other posts, but for now I'll just say this: like every artist and scientist I know, I love to experiment. And there is nowhere I feel more comfortable experimenting than in the kitchen.

As many of you may know, I am a low-carb eater (which doesn't just mean I eat bacon all the time, thanks!). I also tend to cook gluten-free, because my sister (who I live with) is gluten intolerant. I also have a few friends that are gluten-intolerant as well. I have spent a long time figuring out how to accommodate my deep love of pasta in a way that's lower-carb and lower-calorie than using non-gluten grain pastas. I've done the spaghetti-squash thing for creating gluten-free pastas, but frankly, an alfredo deserves a better texture than spaghetti squash. Alfredo, in my opinion, also needs a "zip" that spaghetti squash can't provide.

One evening I was at the supermarket attempting to find daikon, a Japanese vegetable reputed to be excellent for making low-carb pasta "noodles." They didn't have daikon, but they did have parsnips -- and I vaguely recalled that parsnips were supposed be sweet and healthy -- a good possibility for pasta "noodles." Please note that parsnip pasta noodles, once cooked, are al dente.


This Nom Needs:
 4 large parsnips
1-12 oz. jar of alfredo sauce (or 12 ounces of homemade alfredo sauce, if you prefer to make your own)
2 portobello mushroom caps
1 Italian sausage link
1/4 cup shredded (not grated) Parmesan cheese 

First rinse your parsnips, dislodging any dirt, and pat dry. Using a potato peeler, strip the parsnip of its tough outer peel.
 Keep in mind that parsnips have a "woody" center that you will have to avoid. You can find the woody center easily if you cut the very bottom end off the parsnip and look.
Avoiding the woody center, carefully slice the parsnip into strips, no more than 1/10 of an inch thick. Also slice your Italian sausage into pieces about 1/2 inch thick.
Once the parsnips are sliced, melt butter in a pan over medium heat. Place the parsnips in the melted butter and sauté, stirring often, for 10-15 minutes or until the strips are completely soft (but not limp). While the parsnips are cooking, place another pan on medium heat and pan-fry the Italian sausage until thoroughly cooked (this usually takes about the same amount of time as the parsnips). The sausage should be browned all the way through and about 160 degrees in the middle (hot, not cool, not even just warm).

After the parsnips are cooked through, add the alfredo sauce and turn the heat down to medium low and allow the mixture to simmer for several minutes.
While the parsnips + alfredo is simmering, remove the sausage from its pan, add a tablespoonful of olive oil, and place the mushroom caps in the pan. What I prefer to do is cook them in cap form for about 5 minutes on each side first.
Once they've cooked in cap form, remove them from heat and slice them into thick chunks, then return them to the pan and cook until they are soft but firm (usually about 10 minutes on medium heat). Once the mushrooms are done, ladle the pasta alfredo onto 2plates. Sprinkle the parmesan cheese on top, and then add the sliced mushrooms and sausage, and voilà! Servings: 2-3
Prep time: Approximately 15 minutes
Cook time: Approximately 30 minutes
Calories: About 330-550 per serving (the only sausage alfredo pasta recipe I could find using regular grain noodles is about 855 calories per serving)
What Else You're Getting: Potassium, fiber, vitamin C, folate, and manganese from the parsnips; protein, thiamin, B6, folate, magnesium, zinc, manganese, fiber, riboflavin, niacin, pantothenic acid, phosphorus, potassium, copper, and selenium.

Please note:  This recipe can be modified for lactose-intolerant by removing the Parmesan cheese and substituting lactose-free alfredo sauce; it can also be easily modified for ovo-lacto vegetarians.  Please note that most of my recipes are not vegan-friendly, even with modification.